In this post, I talk about weekly logs in my bullet journal and my experience with them. When I stumbled upon the world of bullet journaling all the weekly spreads I saw on social media looked so pretty! It’s only when I sat down to make my spreads that I was faced with the question: How much space do I leave for each day?
Before using a bullet journal, I used to use a Filofax in which each day had a page to itself, and since all of them were already numbered, I could just flip to a date in the future and add tasks I needed to get done on that day. With the bullet journal, however, that becomes a little tricky, since you set up each day on the day itself, how do you plan in advance, a weekly spread seemed like a good option, since two pages would pretty much take up a week, I figured, that would be a good way to go about it. But that caused another problem. Empty space on some days, no space to write on other days. That’s the entire reason I moved from a Filofax to a bullet journal in the first place, so I was pretty much back to square one with this problem.
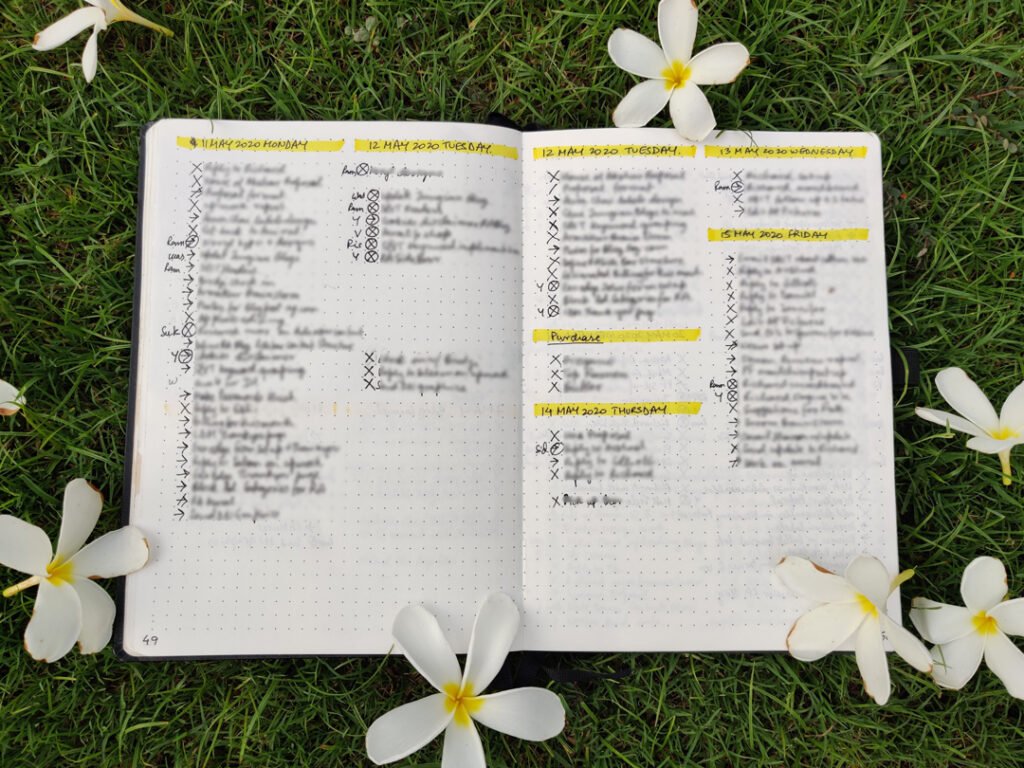
For the entire first year that I used a bullet journal, I just went with the flow of setting up the day on a rolling basis. I would use two columns on each page, and if something came up that needed to be done a few days from now, I would just label the day on the next column from the one my current day was and fill up space later. The rolling dailies worked well for me, even though on some days Thursday would end up on the third column and Friday on the first column, but I had a method to the madness and I was happy with it.
Earlier this year, I came across a way of doing weekly spreads that completely changed the way I bullet journal. It was, for me, groundbreaking and the solution is so simple and elegant that I took to it in an instance. Despite my aversion to setting up a weekly spread all this time.
It’s what Elizabeth over at Plant-Based Bride calls the rolling weekly.

That’s where I discovered it, but it was originally designed by Alastair Johnston for his future log and is called the Alastair Method.
Let me back up here and also tell you a bit about how I was using my dailies. If a task didn’t get done that day, I would copy it over on to the next day, if it didn’t get done on the next day either, I would copy it over to the next day still, so on it would go. I was still wasting space, by just taking up space, and I didn’t even realise it!
So what is the rolling weekly log?
Glad you asked. Well, you didn’t really, but Imma tell you anyway.
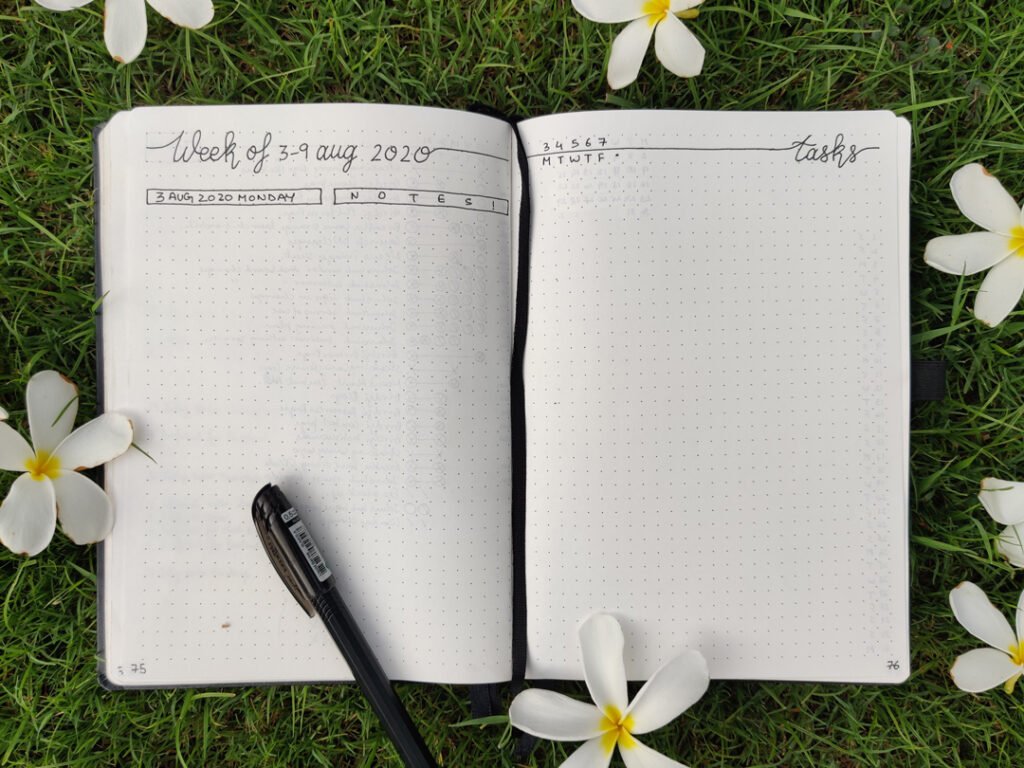
It’s a two-page spread. With the days of the week on one side and the tasks for the week on the other, it doesn’t matter which side, it’s up to you.
On the ‘days of the week’ side, you write events and appointments and tasks that absolutely have to be done on the assigned day in one column, and any notes you’d like to make in another column. How you lay this out is completely up to you.
On the tasks side, you label the first 5-7 columns as M,T,W,T,F(S,S) each column for each day. Then you add a column for your bullet and use the rest of the space to write your task.
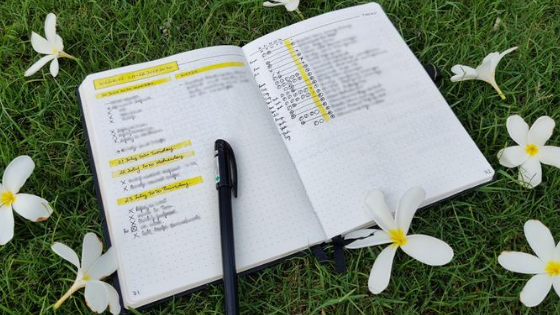
Here’s what it looks like.
Okay, but how would this work?
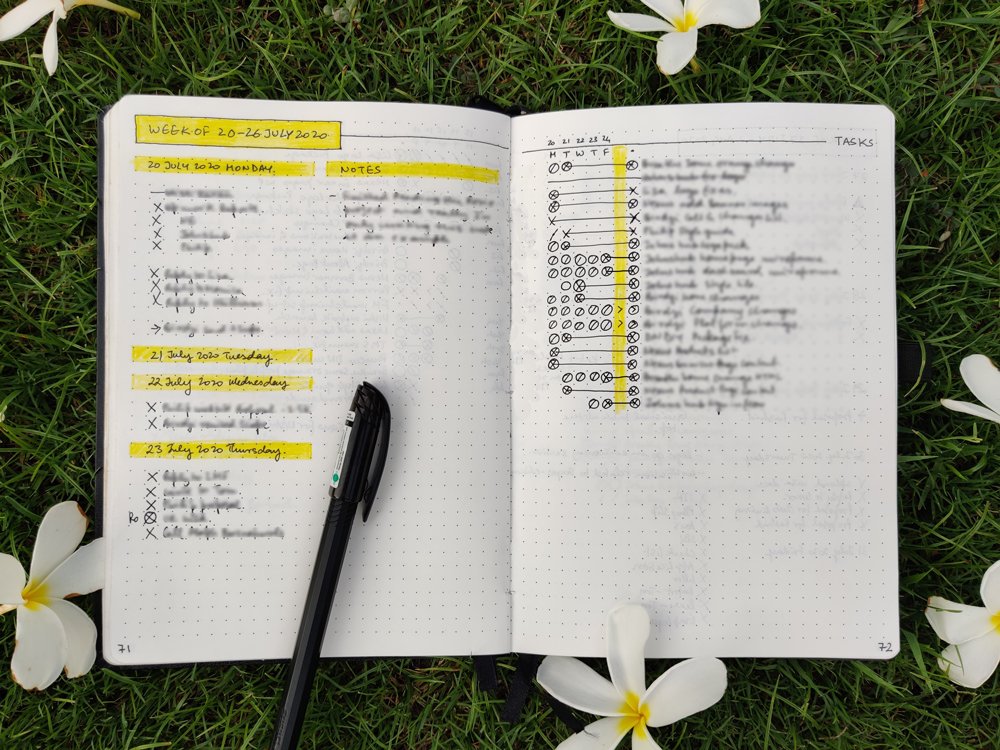
It’s pretty simple and straightforward from here. Write down your tasks for the week here and put a dot in the column corresponding to the day you want to get that task done on.
Then, it pretty much works like daily spreads in terms of your tasks and migrating. At the end or beginning of the day, go through the previous day’s column.
- If there is a task that’s incomplete which you can work on today, convert the dot into a forward arrow ‘→’ to and move the task to the current day.
- If the task needs to be rescheduled for another day in the future beyond this week, convert the dot into a backward ‘←’ and flip back to your monthly log or future log and put the task in front of the respective date.
- If the task is no longer relevant,
strike through it. - If the task is complete, mark an X on the day column and an X on the bullet column, and connect the two with a line, this lets you visually see that there is nothing more to do on that task for the rest of the week. (It’s really satisfying)
This way, you don’t need to write the tasks over and over again, and you can have a running list of tasks, even if they have to be done later in the week. And your events and appointments stay on the other side of the page which will be much neater.

I’ve been using this method for about seven weeks now and I’m pretty happy with the results. I get the flexibility of writing daily tasks and appointments on one side of the page and the ability to save time and paper on the other side of the page. Things are much neater on paper, therefore much neater in my head and I can see the progress of tasks being accomplished from a higher-level view. If a task has been pushed from one day to the next too often, that pattern is much more obvious in this view rather than when I was writing my dailies.
What do you think of this method? Have you tried it before? If not, would you be willing to try it now? I’d love to hear what you think in the comments section below.