
Just as the entire world was going into a lockdown due to the COVID-19 outbreak, I got a chance to return to my studio after months. I hadn’t painted a wall in a while and a series of events led me to a blank piece of wall that needed a splash of paint. This was a great opportunity for lettering a mural. Scrolling through quotes on Instagram, I came across one that spoke to me and was absolutely perfect for the moment. The world is a scary place right now, with a lot of uncertainty around us, and it’s easy to fall into the darkness. Together we must all persevere in order to get out of this with our sanity intact.
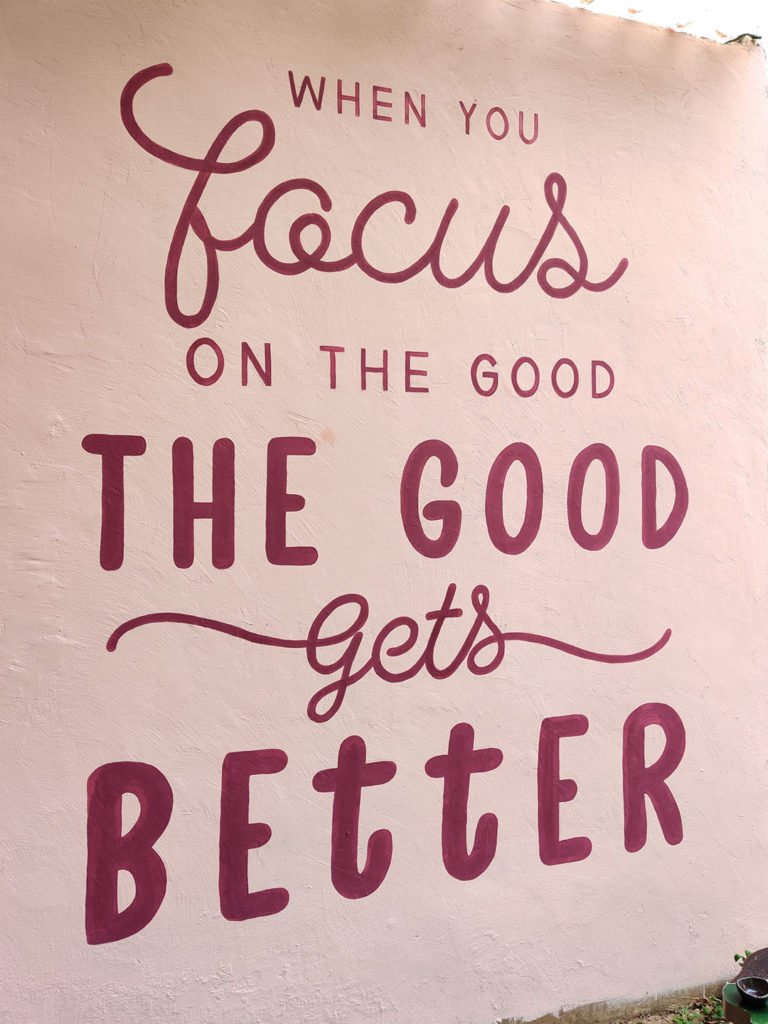
When you focus on the good, the good gets better
In the weeks following, this quote has got me through some tough times already. Quarantine is not all that fun despite living at a farm where I have enough place to move around and nature to soothe me. There have been lows, days when I’ve felt lonely and lacked purpose.
Here’s a look at how I went about creating this mural. From a quote I connected with, to an artwork on the wall.
Thumbnailing
My first step was to sketch out some ideas. Now that I had a quote in mind, I had to figure out which words to highlight, how to lay them out, what style of lettering to go with. I sketched out small boxes and just drew all the various possible combinations that came to my mind.
Trying out different layouts

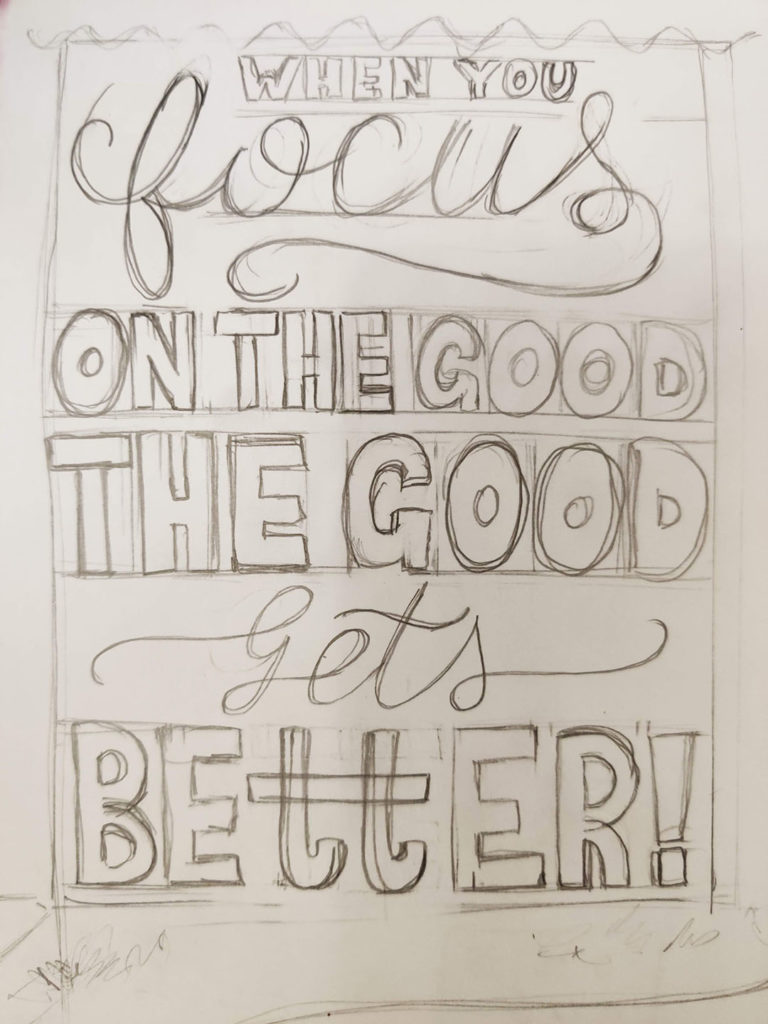
Larger sketches as I got closer to finalising the direction of the artwork
Digital Exploration
Depending on how customised I want the lettering for the mural to be, I go down one of two paths. Either I’ll sketch the whole thing out and digitise it, or I’ll dive into Illustrator and just play with typefaces and modify them to fit my composition. The latter is quicker but gives you less flexibility in terms of customisation.
For this piece, I went with the second option. I was certain I could find the typefaces for the look I had in mind, and I was in a hurry to get to the fun painting part of the artwork. This is a good time to also mention that my colour palette was fairly limited. I had a buttload of pink paint lying around catching dust from a failed experiment and I wanted to use it all up on this artwork.
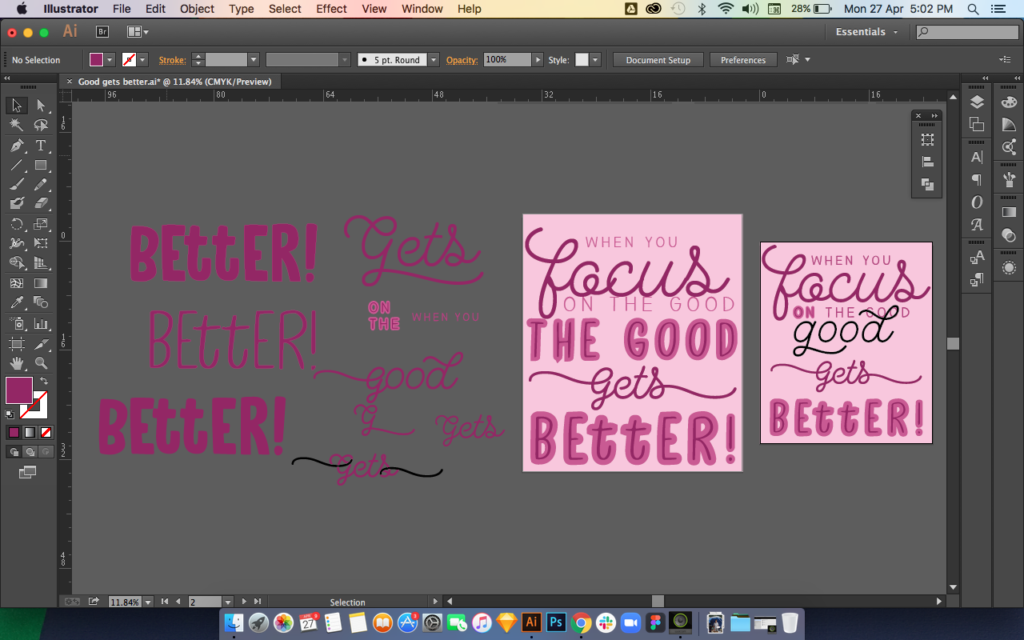
Experimenting with different typefaces and modifying them as needed
To modify the fonts, I used the Touch Type tool, played with strokes, and had to expand appearances for certain words to achieve the look I was going for.

Narrowed down to these options
After playing around with various elements, I narrowed down to a couple of compositions that I was happy with. At this point, I decided to socialise my designs a little and get opinions on what people thought. I wanted to see which ones were easier to read, which ones got the most votes and overall a sense of whether this is something that appealed to my peers. I already knew the one I liked best, but a second opinion is always good to have.
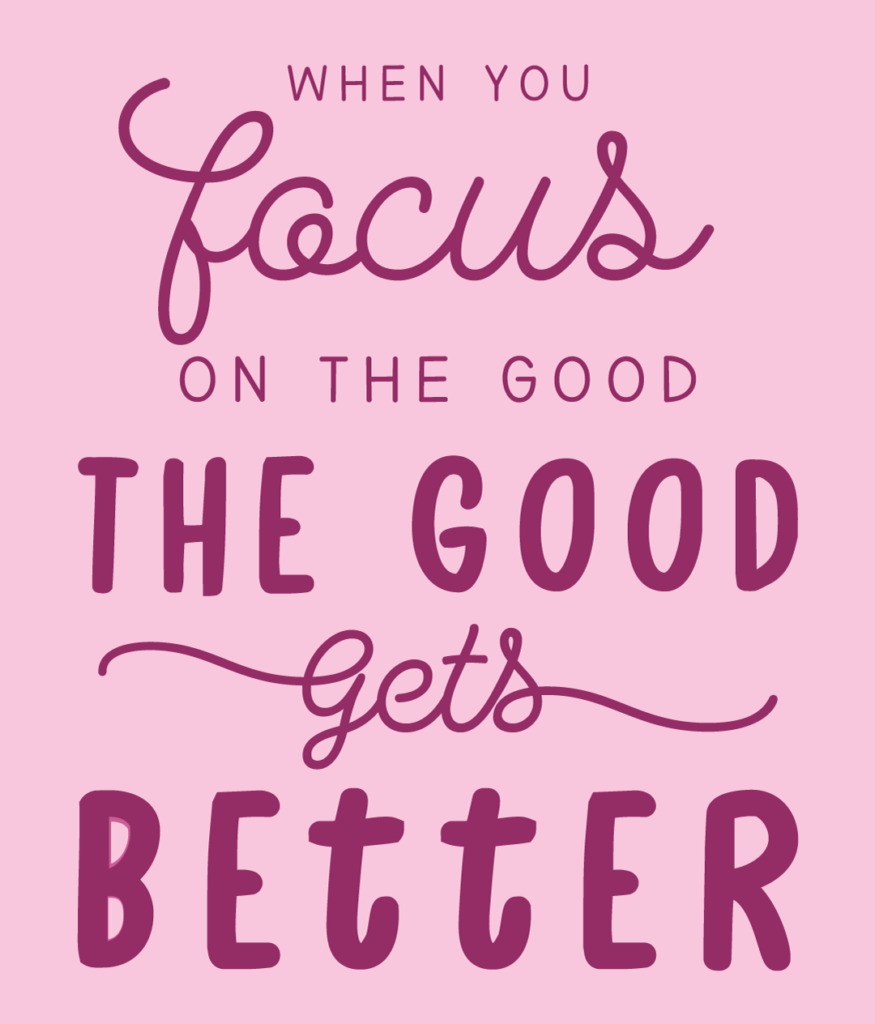
The one I decided to go with
Prep. Prep. Prep.
Prepping the wall is a fun step in its own. It’s when you know that things are finally about to happen. Up till now the commitment to the artwork is fairly low; its just sketches on a paper or artboards on a file. But when you start mixing the paint, that’s when you know things are finally falling into place. As mentioned before, I had pink paint I needed to use up, so I chose to go with that for my background.
Once I had the background painted, I proceeded to project my design on the wall. This bit was to be done in the evening. And though it’s a quick process, it’s not quick enough, because the mosquitoes still get to you!
Even though the file I used was a vector SVG, I was still limited by the pixels of the projector itself. So the projection served more as a guide, rather than an accurate trace. I still had to keep a steady hand and get the thicknesses of the stroke right while tracing the lettering for this mural.
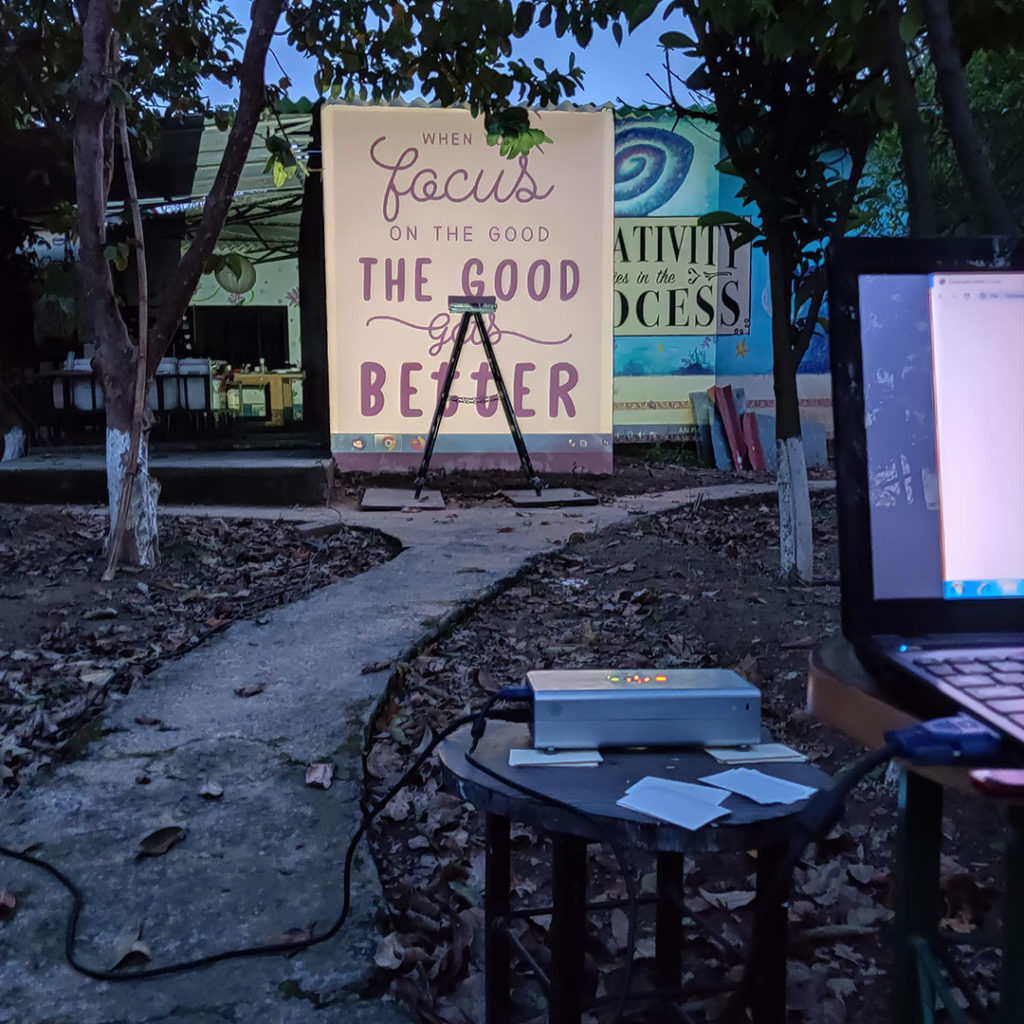
Projecting the design on the wall
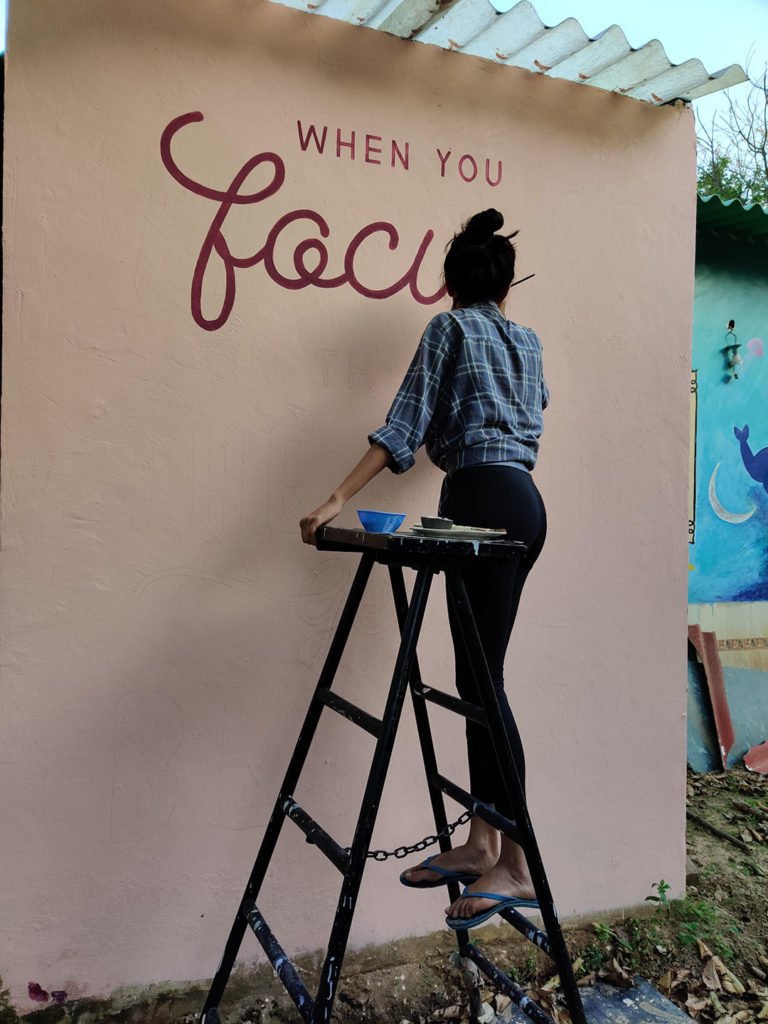
The actual painting bit
And now to the fun part of lettering the whole mural: The actual painting of it. This step is the one that takes the least amount of time but is the focus on social media. Just goes to show how deceiving an online presence can be. Haha! However, it IS the most enjoyable part of the whole process. This is where you start seeing it come to life. I got some tunes on and spent an entire weekend by myself filling this in. It’s a very meditative experience.
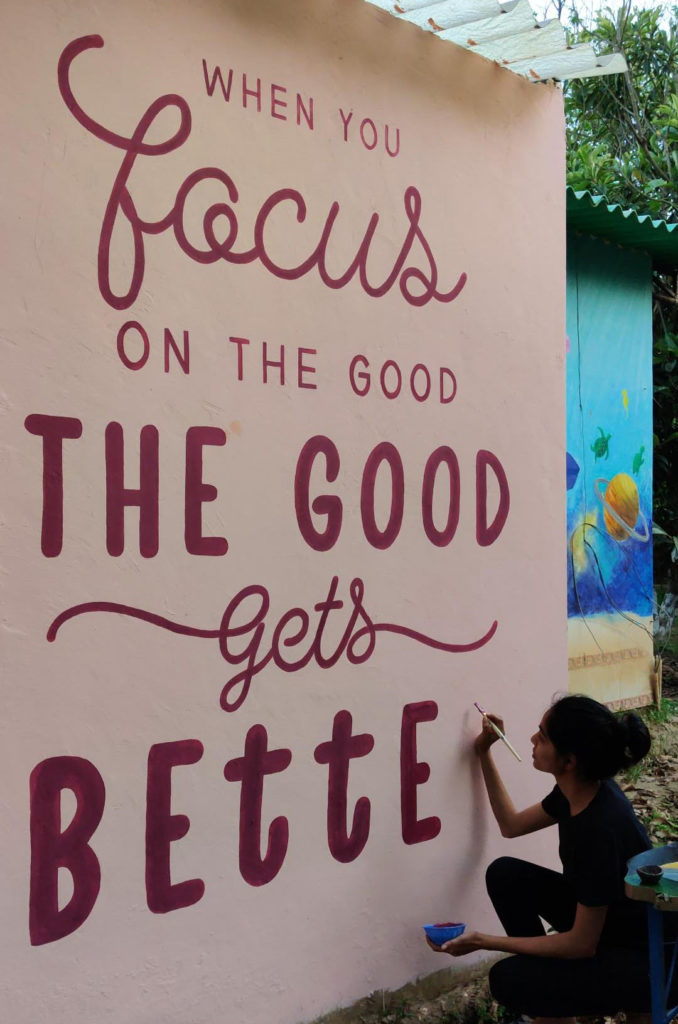
Voila!
Overall, I’m thrilled with this piece. I’ve toyed with the idea of adding a drop shadow. Maybe I’ll do it; maybe I won’t. Who knows.
Like what you see? Pin it! Share it! Spread the love! I’d also love to hear your thoughts in the comments section below!
